E: sales@aoweidatech.com
AoWEIDA Technology Co., Ltd
Custom Manufacturer ・ 5years ・ Shenzhen, China
Main product: Cosplay Arts Crafts Material, Fingerprint Lock, Bicycle Lock


Here’s a comprehensive guide to everything you need to know about new EVA foam sheets for cosplay, from choosing the right type to your first steps with it.
What is EVA Foam?
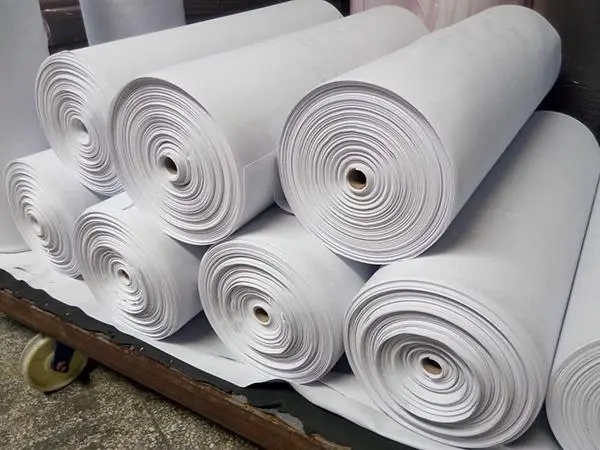
EVA foam (Ethylene-Vinyl Acetate) is a closed-cell, lightweight, and flexible foam that has become the standard material for modern cosplay armor, props, and details. It's often called "floor mat foam" or "craft foam," but cosplay-specific sheets are a higher quality version.

Why is EVA Foam Perfect for Cosplay?
Easy to Work With: You can cut it with a utility knife, shape it with a heat gun, and sand it smooth.
Lightweight: Wearing a full suit of EVA foam armor is far more comfortable than heavier materials like worbla or resin.
Durable: Once sealed and painted, it can withstand convention travel.
Affordable: Especially compared to other thermoplastics.
Versatile: Available in many thicknesses and densities for different parts of a project.

Types of EVA Foam Sheets
Not all EVA foam is created equal. Here’s a breakdown of the common types you’ll find:
1. Cosplay EVA Foam (The Good Stuff)
This is what you want for most armor projects. It has a smooth, consistent surface with minimal visible pores.
Brands to look for: SKS Props, Punished Props, TNT Cosplay, CosplayShop. These are often sold by art and prop-making stores.
Pros: High density, smooth finish, minimal texture, easy to heat-form, sands beautifully.
Cons: More expensive than hardware store options.
2. Anti-Fatigue Floor Mats
The classic starting point for many cosplayers, often with a puzzle-piece edge pattern.
Where to find: Hardware stores (e.g., Harbor Freight, Home Depot).
Pros: Extremely cheap and readily available. Great for practicing and large, simple shapes.
Cons: Has a strong texture/pattern you must fill and sand away, lower density, often has a strong rubbery smell.
3. Craft Foam (2mm - 6mm)
Thin, flexible sheets, often sold in multi-packs at craft stores.
Uses: Perfect for adding fine details, scales, embroidery effects, and layering on top of thicker foam.
Pros: Very cheap, easy to cut with scissors, highly flexible.
Cons: Too thin for structural armor pieces.

Choosing the Right Thickness
The thickness is measured in millimeters (mm). It's common to use multiple thicknesses in one project.
| Thickness | Best For | Notes |
|---|---|---|
| 2mm - 3mm | Fine details, patterning, scales, straps, non-structural accents. | Very flexible. Easy to cut with scissors. |
| 5mm - 6mm | Medium armor pieces, bracers, gauntlets, helmets (when layered). | The most versatile "all-rounder" thickness. |
| 8mm - 10mm | Main armor plates, chest pieces, shoulders, thick structural parts. | Provides a strong, "chunky" look. Harder to heat-form. |
| 12mm+ | Large props (swords, hammers), bases for heavy details, soles of boots. | Very rigid but requires powerful tools to cut and shape. |
Beginner Recommendation: Start with 5mm or 6mm foam for your first armor project.

Where to Buy New EVA Foam
Online Specialty Retailers: The best place for high-quality foam.
Craft Stores: Michael's, Hobby Lobby, and Joann Fabrics carry thinner craft foam. They may carry smaller sheets of thicker foam, but it's often not the highest quality for armor.
Hardware Stores: Home Depot, Lowe's, Harbor Freight for floor mats.
Essential Tools for Working with EVA Foam
You don't need everything at once, but these are the core tools:
Cutting Tools: Sharp utility knives, box cutters, or a hot knife (makes cutting much easier and seals edges as you go).
Heat Gun: Essential for shaping and forming foam. A standard hardware store heat gun works perfectly.
Adhesives:
Contact Cement (e.g., Barge): The gold standard for strong, permanent seams.
Hot Glue: Good for quick temporary holds or attaching very small details.
Sandpaper: A variety of grits (80, 120, 220) for smoothing edges and surfaces. A Dremel tool with a sanding drum is a huge time-saver.
Sealer: Before you paint, you MUST seal the foam. This creates a protective shell.
Mod Podge (mixed with black paint) is a popular, affordable option.
Flexi-Prime or Plastidip (spray or brush-on) are professional standards that remain flexible.
Your First Steps with New Foam
Pattern Making: Create a template using poster board or craft paper. Pepakura (a software for unfolding 3D models) is incredibly popular for this.
Transfer and Cut: Trace your pattern onto the foam using a ballpoint pen or tailor's chalk. Cut it out with a sharp blade using a straight edge for long cuts.
Heat Forming: Use your heat gun to gently heat the foam until it becomes pliable (it will start to curl). Bend it to the shape you need (over your knee, a can, a mold) and hold it until it cools.
Gluing: Apply a thin layer of contact cement to both pieces you want to join. Let it become tacky (3-5 minutes), then press them together firmly. The bond is instant and strong.
Sealing & Painting: Seal the entire piece with 2-3 thin coats of your chosen sealer. Once dry, you can paint it with acrylic paints or airbrush. Finish with a clear coat to protect your paint job.
Pro Tip:
Always work in a well-ventilated area, especially when using a heat gun, contact cement, or spray sealants.
Enjoy your new EVA foam! It's a incredibly rewarding material that opens up a world of creativity for your cosplay builds.
